LAA connectivity
The Linaro Automation Appliance should be connected to the fleet management cloud service to operate properly.
The fleet management cloud service is responsible for keeping the LAA up-to-date with the latest software releases, connect the LAA to the right LAVA instance and configure the connected DUT.
In order to register on the fleet management cloud service, the LAA must be able to connect to the internet.
Network configuration
When connecting the LAA to your lab network, connect the Ethernet cable to the
LAA Main Eth Ethernet port. This port is the public network port.
Public and Private network interfaces
The LAA provides 2 network interfaces:
Main eth: public ethernet port to connect the LAA to the lab networkDUT eth(facing upward): private ethernet port to connect the LAA to the DUT
With DHCP
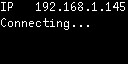
By default, the LAA will request an IP address using DHCP. The IP address will be displayed on the OLED display.
Without DHCP
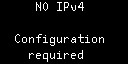
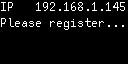
In a lab network without a DHCP server, the OLED will display the message below and admins will have to update the LAA network configuration.
In order to configure the network, admins should browse to the LAA embedded
web interface.
By default the embedded web interface is only available on the
public network interface. To access it from the private network interface, press the Soft Recovery button and wait for the OLED to display:
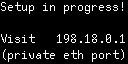
Connect the admin laptop to the private LAA network interface. The LAA will automatically assign an IP address using DHCP to the laptop. Then browse to the LAA private IP address at http://198.18.0.1
Private network interface
The private LAA network interface is the ethernet port facing upward and
labeled DUT Eth.
Network access
When connected to the private network interface, a PC will be assigned the IP
198.18.0.2 but the PC will only be able to connect to the LAA at
198.18.0.1.
From this network, it’s not possible to have access to the local network nor the public internet.
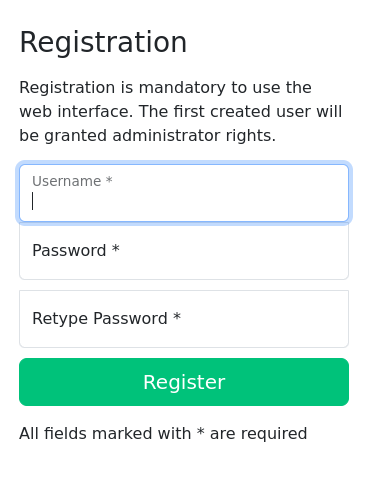
To use the web interface, browse to http://198.18.0.1/.
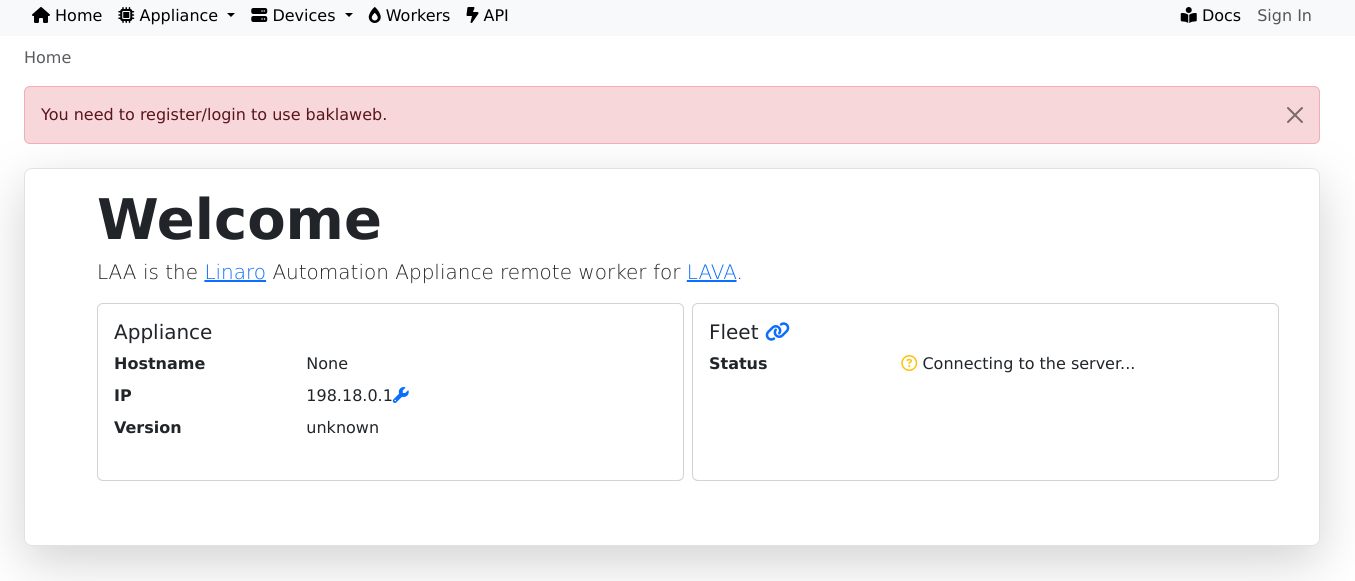
Start by creating the first user that will be automatically granted administration rights.
Now you can browse to the network configuration page at http://198.18.0.1/appliance/network/settings/ and update the network configuration.
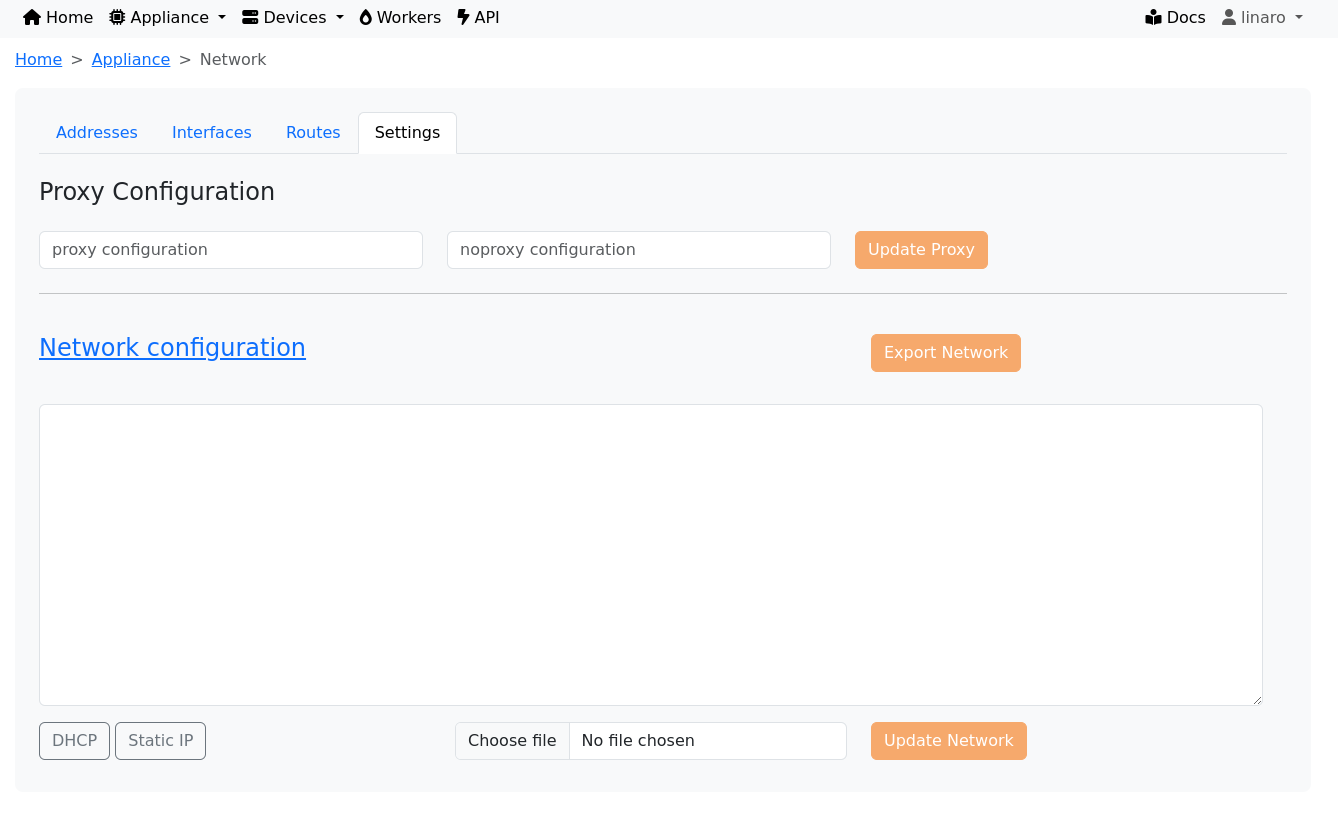
The configuration is using systemd-network syntax.
To configure a static IP address, use:
[Match]
Path=platform-30bf0000.ethernet

[Network]
Address=10.10.10.2/24
Gateway=10.10.10.1
The LAA should now have an IPv4 and the OLED display will look like:
Setup in Progress
In order to display the above content, press again the Soft Recovery button
to disable access to the embedded web interface from the private network
interface.
Cloud connectivity
Direct connection
The LAA should now automatically connect to the fleet management cloud service and display:
Cloud connectivity
The first connection to the cloud can take up to 20 seconds. If the LAA is not displaying the above message, then proceed to the next chapter about HTTP proxy.
If this is not the case, it’s likely that the LAA should use an HTTP Proxy to connect to the public internet.
HTTP Proxy
If the LAA should use an HTTP proxy to access internet, this should be configured in the LAA web interface.
Browse to the network configuration page and fill in the http proxy address.
Public network interface
The LAA now has an IPv4, so you can directly browse to the LAA IPv4 printed on the OLED. You should connect your PC to the same lab network as the LAA public network interface.
The OLED should now display:
If this is not the case, it’s likely that the LAA should allow for SSL Interception.
SSL Interception
TODO.